Table of Contents
Introduction:
When launching a website, one of the key steps is uploading your site’s content to the server. If you’re using Webuzo, a powerful hosting control panel, this process is both straightforward and efficient. Whether you’re a beginner or an experienced developer, understanding how to use Webuzo’s File Manager and FTP options for uploading your website files is crucial. In this guide, we’ll walk you through the steps to seamlessly upload your website content, ensuring that your site goes live without a hitch.

Step 1: Access Webuzo Control Panel
- Log in to your Webuzo control panel using your admin credentials.
- Once logged in, you’ll be on the Webuzo dashboard.

Step 2: Access File Manager
You have two main options to upload your website files:
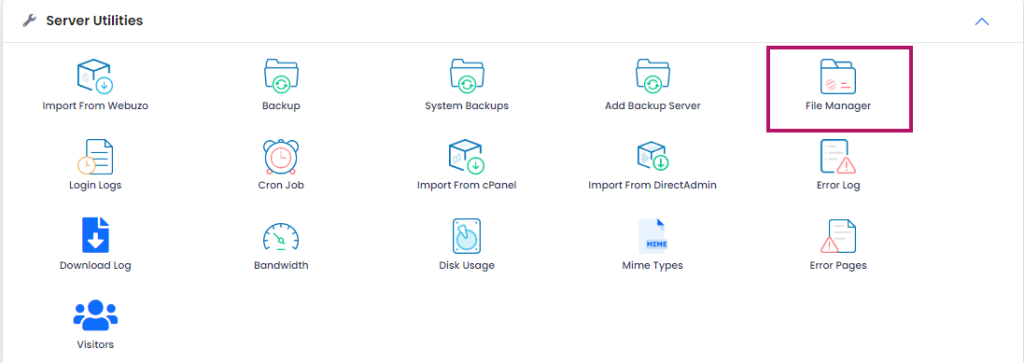
1.Go to File Manager: On the Webuzo dashboard, find and click on the “File Manager” icon.

2. Navigate to the Root Directory:
- For the primary domain, navigate to
public_html. - For subdomains, go to the respective folder under
public_html(e.g.,public_html/subdomain).
3. Upload Files:
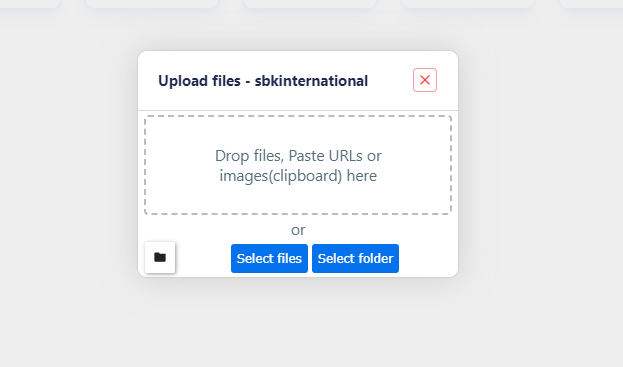
- Use the “Upload” button to browse your local files and upload them.
- You can upload individual files or zip files. If uploading a zip file, you can extract it using the “Extract” option in File Manager.


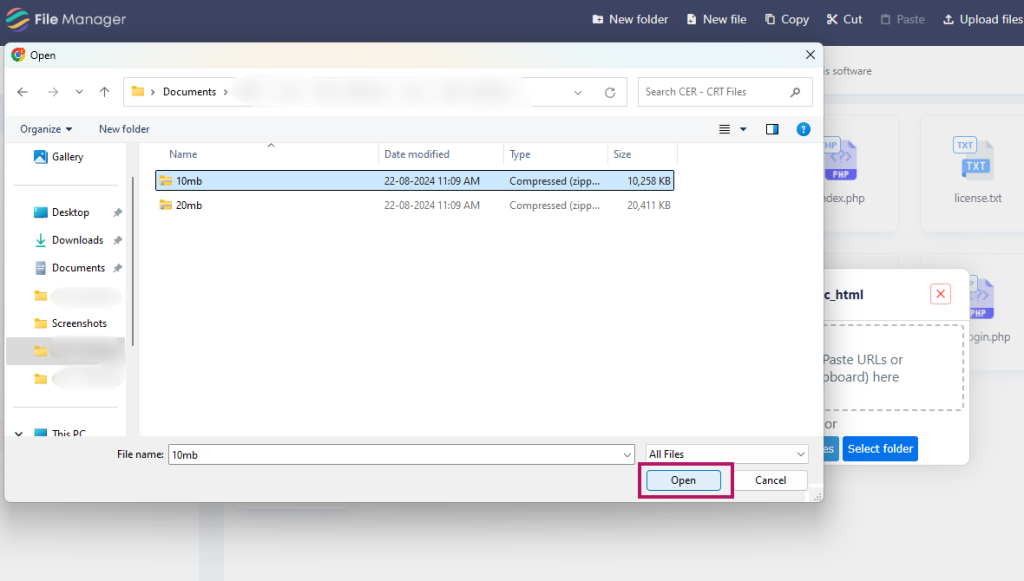
Choose the required files and chick open to upload.

Files uploaded successfully.

You can Also Use FTP for Uploading a website file
- Set Up FTP:
- You can use an FTP client (like FileZilla).
- Set up your FTP account if you haven’t already: Go to the “FTP” section in Webuzo and create an FTP account.
- Connect via FTP:
- Use the FTP account credentials (hostname, username, password) to connect.
- Navigate to the root directory (
public_html).
- Upload Files:
- Drag and drop your website files into the
public_htmldirectory. - Ensure all necessary files (like
index.htmlorindex.php) are correctly uploaded.
- Drag and drop your website files into the
Step 3: Verify Upload
- Check Permissions: Ensure that the file permissions are correctly set (usually
755for directories and644for files). - Test the Website: Visit your domain to ensure the website is loading correctly.
Step 4: Configure Settings (Optional)
If you need to adjust domain settings, SSL, or other configurations, you can do so from the Webuzo control panel.
That’s it! Your website should now be live and accessible.
Conclusion:
Uploading your website files to Webuzo is a simple yet essential task that brings your online presence to life. Whether you opt for the convenience of the File Manager or the flexibility of FTP, Webuzo provides you with the tools you need to manage your website effortlessly. By following this guide, you’ve taken a significant step towards launching your website. Now, with your site’s content uploaded and configured, you’re ready to share your project with the world. Happy hosting!
